
Photography is not just about capturing moments; it’s about telling a story through images. In the age of digital photography, editing photos has become an integral part of the storytelling process. Whether you’re a professional photographer or a hobbyist, knowing how to edit photos like a pro can elevate your work. In this comprehensive guide, we’ll take you through the essential tips and techniques for enhancing and retouching photos using photo editing software.
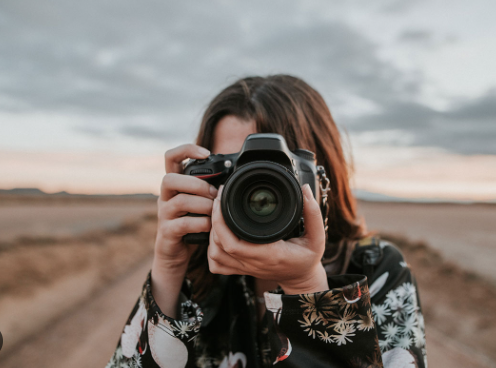
Table of Contents
- Why Photo Editing Matters
- Choosing the Right Photo Editing Software
- Understanding the Basics
- Exposure and Color Adjustments
- Cropping and Composition
- Retouching and Healing Tools
- Enhancing Details and Sharpness
- Color Grading and Correction
- Working with Layers
- Saving and Exporting Your Edited Photos
- Practice and Patience
- Conclusion
1. Why Photo Editing Matters
Photo editing isn’t about altering reality; it’s about refining and highlighting the essence of your photographs. It allows you to correct exposure issues, enhance colors, remove distractions, and create a mood or atmosphere that complements your subject. Whether you shoot with a DSLR, smartphone, or any other camera, editing is the bridge between a raw image and a captivating story.
2. Choosing the Right Photo Editing Software
Selecting the appropriate photo editing software is the first step. Some popular options include Adobe Photoshop, Adobe Lightroom, Capture One, GIMP (a free and open-source software), and various mobile apps like Snapseed and Lightroom Mobile. Your choice depends on your preferences and the complexity of your editing needs.
3. Understanding the Basics
Before diving into the advanced techniques, familiarize yourself with the basics of your chosen software. Learn about the interface, tools, and terminology. Understanding concepts like layers, masks, and adjustments will make your editing journey smoother.
4. Exposure and Color Adjustments
- Exposure: Adjust the brightness and contrast of your photo. Use exposure, brightness, and contrast sliders to make the image visually appealing.
- White Balance: Correct color casts by setting the proper white balance. For instance, use the eyedropper tool to neutralize a photo’s color temperature.
- Saturation and Vibrance: Enhance or tone down colors using the saturation and vibrance controls. Vibrance is useful for preserving skin tones while boosting other colors.
5. Cropping and Composition
- Cropping: Crop your image to improve its composition. The rule of thirds is a useful guideline; align your subject along the grid lines or intersections for a balanced composition.
- Straightening: Correct crooked horizons or tilted subjects. Use the straighten tool or rotate canvas option to align your photo correctly.
- Aspect Ratio: Consider the aspect ratio when cropping. Different platforms (e.g., Instagram, Facebook, and print) may require specific ratios.
6. Retouching and Healing Tools
- Spot Removal: Remove blemishes, dust spots, or small distractions with the spot removal or healing brush tool.
- Skin Retouching: Use the clone stamp or healing brush for skin retouching, while maintaining a natural look.
- Dodge and Burn: Enhance highlights (dodge) or darken shadows (burn) to add depth and dimension to your photo.
7. Enhancing Details and Sharpness
- Sharpening: Apply sharpening to enhance the image’s clarity. Adjust the amount, radius, and threshold to control the effect.
- Noise Reduction: Reduce noise in low-light or high-ISO images. Find a balance between noise reduction and preserving detail.
- Clarity: Boost mid-tone contrast with the clarity slider, adding an extra punch to your photos.
8. Color Grading and Correction
- Split Toning: Add a creative touch by applying different colors to highlights and shadows. This can set the mood of your photo.
- Curves: Adjust color and tone with curves. Create an S-curve for contrast or fine-tune specific color channels.
- HSL/Color Wheels: Modify individual colors’ hue, saturation, and luminance to control color intensity and balance.
9. Working with Layers
Understanding layers allows for non-destructive editing. You can create adjustment layers to fine-tune exposure, color, or effects without altering your original image. Experiment with layer masks to control where your edits are applied.
10. Saving and Exporting Your Edited Photos
When saving your edited photo, consider the purpose and destination. For print, use formats like TIFF or PNG. For digital sharing, JPEG is suitable. Adjust settings like resolution and quality to balance file size and image quality.
11. Practice and Patience
Becoming proficient at photo editing takes time. Practice on a variety of photos and subjects to refine your skills. Don’t rush; take breaks during editing to avoid overdoing it. Learn from your favorite photographers and keep up with editing trends.
12. Conclusion
Editing photos like a pro is an art in itself. It’s about translating your creative vision into captivating images. With the right software, skills, and patience, you can transform your photos into powerful stories that resonate with viewers. Embrace photo editing as a valuable part of your photographic journey, and remember that there’s always more to learn and explore in this creative realm.